How-to
How to set up a wire-free robot mower
Published
Note: This page contains affiliate links. If you buy through them we may earn a commission at no extra cost to you. Learn more
In short
Charge the mower, place the charging station on level ground near a power point, and mount the RTK antenna high with a wide view of the sky. Pair the mower with the app, map the boundary by driving it round the edge, add no-go zones and channels between lawns, then run a supervised first mow and fix any weak signal spots by moving the antenna or adjusting the map.
Products for this job
Compare all 7 productsEcovacs Goat O1000 RTK: RTK plus lidar, 45% slope
Check price on AmazonAffiliate linkMammotion Yuka 1500: RTK and 3D vision, sweeps
Check price on AmazonAffiliate linkWorx Landroid Vision Cloud: RTK Cloud, no antenna
Check price on AmazonAffiliate link
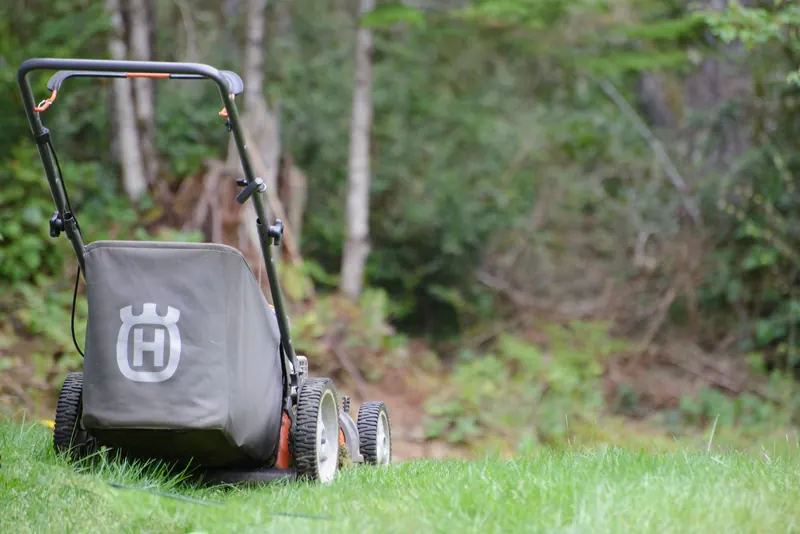
A wire-free robot mower skips the hardest part of owning a robot: laying a boundary wire. Instead you set the boundary in an app. Setup is still worth doing carefully, because where you put the station and antenna and how you draw the map decide how well the mower works. This guide covers the general process for RTK and vision robots. Every brand differs in the detail, so keep your manual and the maker's app instructions to hand.
Before you start
Clear the lawn of toys, hoses, stones and fallen branches, and mow it to a sensible height first if it is long, since most robots cannot cope with overgrown grass. Make sure your phone can reach home Wi-Fi or mobile data in the garden, as many robots need it for setup and updates.
Measure the lawn with our lawn area calculator so you know the robot is rated comfortably above it. Then walk the garden and note tall trees, walls, sheds and narrow side passages. These are the places where satellite signal can be weak.
- Mower, charging station, power supply and antenna kit from the box
- A fully charged mower (many need a first charge before pairing)
- Your phone with the maker's app installed and an account set up
- An outdoor power point protected by an RCD, or a route to one
- The manual, for distances and mounting advice specific to your model
Place the charging station and RTK antenna
Put the charging station on flat, level ground at the edge of the lawn, with clear space in front so the mower can drive straight in. Avoid low spots that hold water. Many makers suggest a shaded spot where possible, but check the manual for the clearances your model needs.
The RTK antenna is the most important part of setup. It needs a wide, clear view of the sky, away from walls, trees and overhanging roofs. Many kits let you mount it on a short pole in the lawn, on a fence post or on a wall bracket. Higher and more central usually works better than tucked into a corner, but follow the maker's guidance on height and distance from the station. Some robots, such as the Landroid Vision Cloud in our wire-free guide, take corrections from the cloud and need no local antenna according to the listing; vision and lidar models may also skip it.
Boundary wire
RTK
Vision / lidar
Note:Use an outdoor socket protected by an RCD and keep the power supply and cable connections off wet ground. If you need a new outdoor socket or wiring, use a registered electrician. Do not run cables where a mower or edging tool could cut them.
Map the boundary and zones
Some robots can propose a boundary automatically using their cameras, which you then check and adjust. Either way, review the map on your phone and tidy any corners that look wrong. Where a lawn edge meets a flush path, you can often let the mower run right up to it, but keep a margin from walls, ponds and steep drops.
- 1
Pair the mower with the app, following the on-screen steps, and install any firmware update it offers.
- 2
Check the app shows a good positioning fix before mapping. If it does not, move the antenna before going further.
- 3
Drive the mower round the lawn edge using the app's remote control, keeping a steady pace and following the line you want it to cut to.
- 4
Close the loop back where you started so the app can save the boundary.
- 5
Add no-go zones round beds, ponds, play equipment and tree roots, leaving a small margin.
- 6
Map extra lawns and link them with channels or paths so the mower can travel between them.
- 7
Set the cutting height and a schedule, starting slightly higher than you plan to keep the lawn.
Fix weak signal spots
Weak signal shows up as the mower slowing, pausing, wandering slightly off line or reporting a positioning warning in one part of the garden. It is most common under trees, beside tall walls and fences, in narrow side passages and close to the house.
Start with the antenna. Raising it, moving it to a more open position or away from a wall often fixes the problem for the whole garden. If one shaded corner still struggles, you can redraw the boundary slightly away from the obstruction, or mark the area as a no-go zone and trim it by hand. Robots that combine RTK with cameras or lidar handle shade better, as our explainer on how robot mowers navigate explains.
Remember that the signal can change over the year. Trees in full leaf block more sky in summer than in winter, and a new shed, extension or scaffolding can create a weak spot overnight.
| Problem area | Likely cause | What to try |
|---|---|---|
| Under a large tree | Canopy blocks satellites | Move the antenna, redraw the edge, or set a no-go zone |
| Beside a tall wall or house | Wall blocks half the sky | Raise the antenna or shift the boundary a little away |
| Narrow side passage | Buildings on both sides | Map a channel and check it runs; some models need the passage wider |
| Whole garden patchy | Antenna too low or hemmed in | Remount the antenna higher in a more open spot |
First runs and fine tuning
Watch the first full mow. Check the mower stays inside the boundary, avoids the no-go zones, crosses between lawns cleanly and returns to the station. Adjust the map where it cuts too close to a bed or leaves a strip too wide.
Lower the cutting height gradually over the following weeks rather than all at once. The RHS advises removing no more than a third of the grass height at any one cut; our one-third rule tool works out the steps. Set a daytime schedule, since mowing at night puts hedgehogs and other wildlife at risk.
If your garden is small or very shaded, also look at our robot mowers for small gardens guide for models suited to tight spaces.
Note:Before cleaning the underside, changing blades or lifting the mower, switch it off with the main switch and use the stop button. Wear gloves, as blades are sharp, and follow the maker's manual.
Frequently asked questions
Do all wire-free robots need an RTK antenna? No. Many RTK models do, but some take corrections from a network service over the internet, and vision or lidar robots may need no antenna at all. Check the listing and manual.
Where is the best place for the RTK antenna? Somewhere high with a wide, clear view of the sky, away from walls, trees and roofs, within the distance the manual allows from the station.
Can I change the map later? Yes. One of the main benefits of wire-free robots is that you can redraw boundaries, add no-go zones and change schedules in the app at any time.
What if part of the lawn never gets a good signal? Try moving the antenna first. If a corner still fails, shift the boundary away from the obstruction, set it as a no-go zone, or consider a model that adds cameras or lidar.
What you need
- Check price on AmazonAffiliate link
Ecovacs Goat O1000 RTK: wire-free, about 1,000 m²
- Check price on AmazonAffiliate link
Gardena Sileno minimo 250: UK plug, 57 dB(A)